This guide will demonstrate how to display the shadows for your shade sail, at a specified place and at different times.
MPanel Shade Designer Version 3.0 and Sketchup Version 8 (the free version) were used.
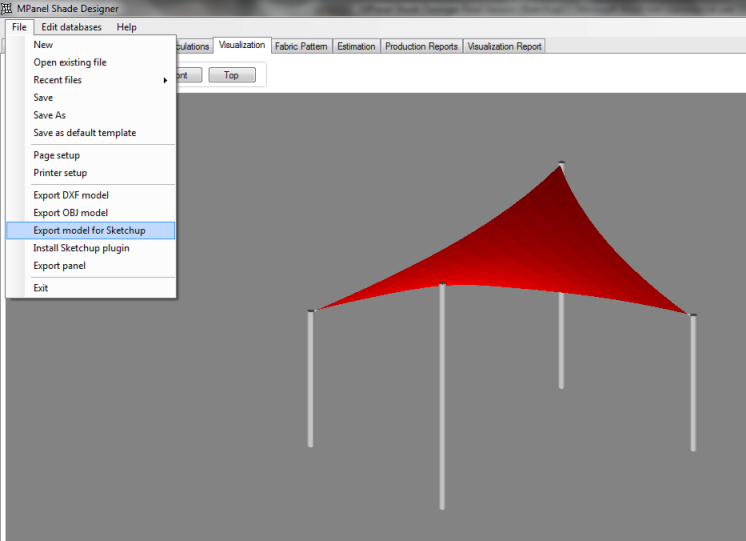
You can check to see if the sail looks the way that you intended for it to look in the Visualization Report page, as shown below.
Next, export the model. By default, this model goes into the Documents\MPanel Shade Designer\Export folder.
(Since this design will be exported to Sketchup, be sure to install the Sketchup Plugin. In MPanel Shade Designer, simply go to File, and select Install Sketchup Plugin.)
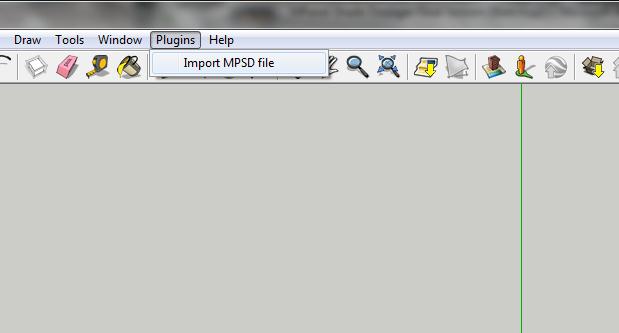
Open Sketchup.
(When you open Sketchup, make sure to use the same units in Sketchup as you did in MPanel Shade Designer.)
In Sketchup, roll over the Plugins tab, then select Import MPSD file.
While you have the import screen open, be sure to select your drawing.

To perform a shadow analysis, you need to specify where the model is in the world. In Sketchup, this option is called “Geo-location.”

Enter a city or a street address, and zoom / pan to find the location for the shade sail.
Select a Region.
Then move around until the cross hairs are in the correct spot, and click on Grab
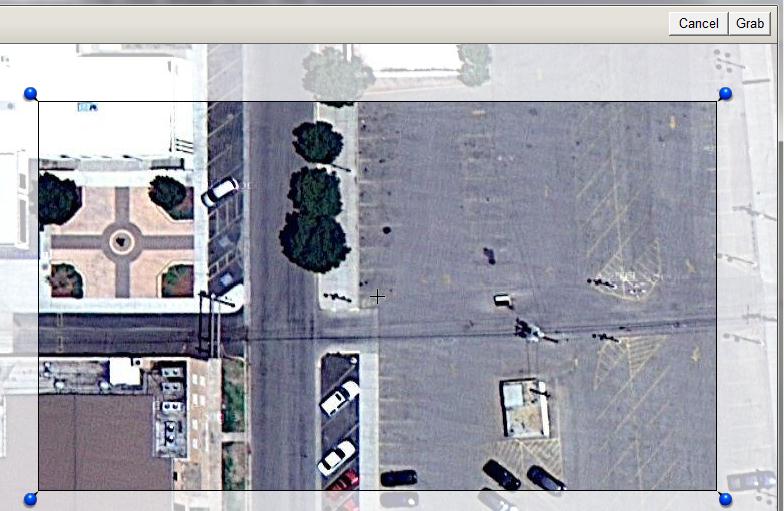
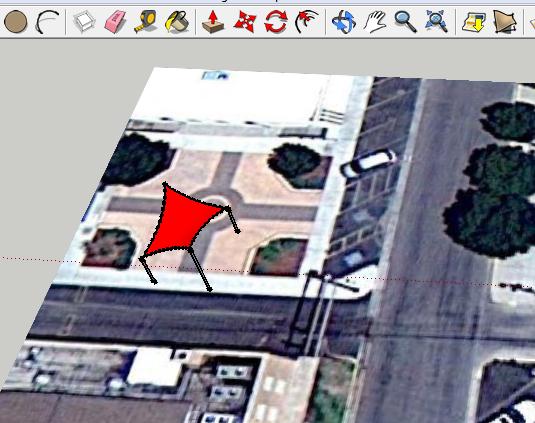
This will add a background to the image of the selected location.
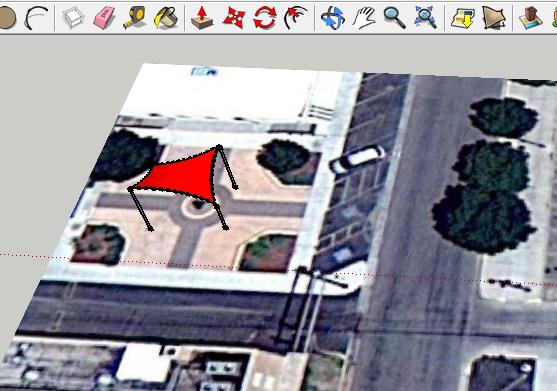
Use the Sketchup Rotate and Move controls to position the shade sail correctly.
Note: When using rotate be sure to rotate in the ground plane, or the shade sail will tip over.
To start a Shadow Analysis, select the Windows tab on Sketchup, then scroll down to
Shadows, and click on that.
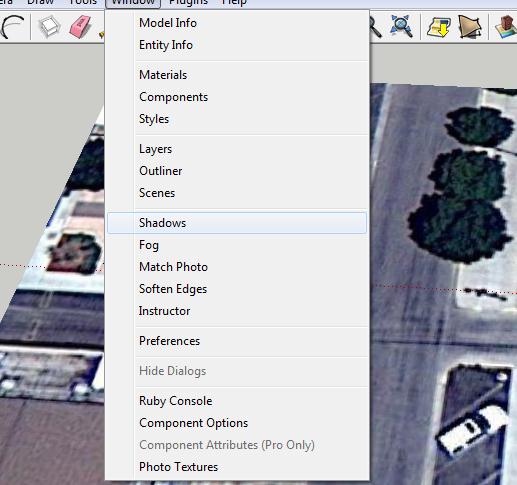
This will open the Shadow settings box shown here.
Click on the left icon to turn shadows ON

Now you can move the Time and Date sliders to see where the shadow would fall.

Sketchup® is a registered trademark of Trimble©